
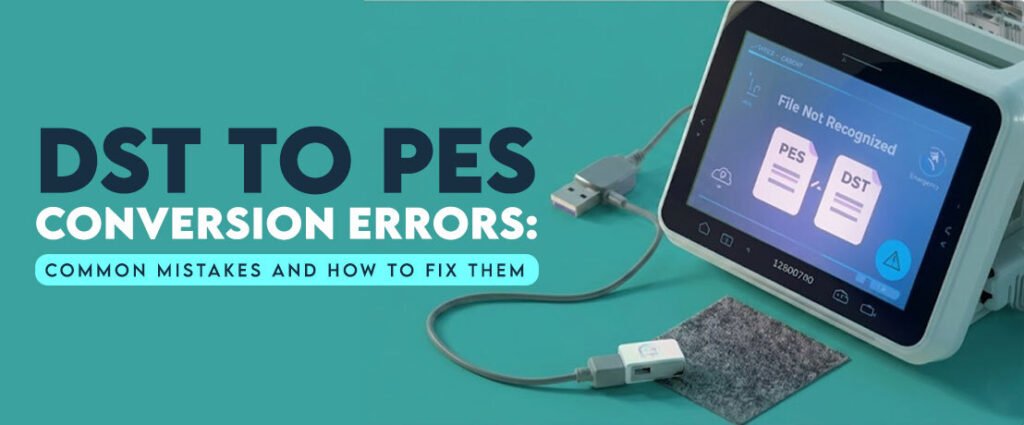

DST to PES Conversion Errors: Common Mistakes and How to Fix Them
You spend time creating or downloading embroidery designs, convert them into another format, & then it feels like something goes wrong. Suddenly you see the colors disappear, the stitches overlap or the machine refuses to read the file. If this has happened to you, you are definitely not the only one. I’ve seen these conversion problems many times while working on different custom embroidery digitizing projects, and they’re especially common when people convert designs without checking the final output. We all know a small mistake during conversion turns a perfect design into one that stitches poorly.
Basically, converting a design is not just about changing the file. Different embroidery file formats store design data in different ways, so even a good looking design on the screen can create problems once it reaches the machine. That’s why we bring this guide for you, we will discuss the most common problems and simple solutions if you know what to check before saving the final file.
Some Common Errors When Converting DST to PES
Every embroidery machine reads design data a little differently, so conversion errors are more common than most beginners imagine. Some problems appear immediately, while others only become visible after the machine starts stitching.
The most common issues include missing thread colors, shifted stitches, damaged files, software compatibility problems & changes in stitch density. Understanding these mistakes first makes troubleshooting much easier later.
Missing or Incorrect Color Information
One of the first things people notice after converting a design is that the thread colors are either missing or completely different. This happens because a DST file stores stitch commands but doesn’t save detailed color information as many machine specific formats do.
- The design opens with random thread colors.
This is probably the most common issue. The stitches stay in place, but the software assigns default colors because the original thread sequence was not included during conversion. - Thread order changes after conversion.
Sometimes the colors look correct, but the sewing order changes. This can create unnecessary thread trims or make the finished embroidery look different from the original design. - Color stops disappear.
Some conversion programs combine stitch sections into one block. As a result, the machine keeps stitching with the same thread instead of stopping for a color change. - Brand specific thread charts don’t match.
If one software uses a different thread library than another, the converted design may display similar shades instead of the exact thread colors you originally selected.
Distorted or Shifted Stitch Placement
Another problem that shows up quite often is a design that no longer looks balanced after conversion. Letters, borders, or small details move slightly, which becomes very noticeable once the design starts stitching.
- Objects shift out of position.
Small elements like text, outlines, or decorative details may move away from their original location, making the design look uneven. - Layers no longer line up correctly.
Top stitches may no longer sit directly over the underlay. From my experience, this usually becomes obvious on logos with multiple colors and fine details. - Resizing during conversion changes stitch placement.
Some software automatically scales the design while converting it. Even a small size adjustment changes the spacing between stitch objects. - Jump stitches increase.
Poor conversion creates extra jump stitches between design sections, making cleanup longer after the embroidery finishes.
File Not Opening or Reading Errors
Sometimes the conversion finishes without showing any warning, but the embroidery machine can’t read the file. This usually points to a compatibility problem instead of a damaged design.
- The machine reports an invalid file.
This happens when the file was not exported correctly or the conversion process stopped before finishing. - The design doesn’t appear on the machine.
In many cases, the wrong file type gets copied to the USB drive instead of the converted embroidery file. - The file becomes corrupted during transfer.
Removing the USB drive before the copy process finishes damages the file, making it unreadable on the machine. - The software saves an unsupported version.
Older embroidery machines sometimes can’t read files created by newer software versions, even though the file extension looks correct.
Software Compatibility Issues During Conversion
Not every embroidery program processes designs the same way. Some programs support advanced editing features, while others only perform basic file conversion.
- Different software reads stitch data differently.
One program preserves the original design, while another changes stitch paths during conversion. - Editing features vary between programs.
Some software converts the file but removes editing information, making future adjustments much harder. - Older software misses newer functions.
Programs that have not been updated for years may struggle with modern embroidery designs created using newer digitizing tools. - Limited conversion tools reduce accuracy.
Free converters work for simple designs, but detailed logos need professional software to keep the stitch quality consistent.
Stitch Density Changes After Conversion
Stitch density can also change after converting a design. At first glance, everything may look fine, but the final embroidery look tells a different story.
- The design becomes too dense.
Extra stitches can make the fabric pull together, especially on lightweight materials, causing puckering around the design. - The design stitches too lightly.
Reduced stitch density leaves visible fabric between the stitches, making the embroidery look unfinished. - Underlay settings change.
Some conversion programs modify or remove underlay stitches, reducing stability during stitching. - Small details lose definition.
Fine text and narrow satin columns usually show the biggest difference when stitch density changes after conversion.
How to Fix DST to PES Conversion Errors?
Most conversion problems are not permanent. In fact, many of them take only a few minutes to fix once you know the exact issue. I review the design before sending it to the machine because catching one small issue on the screen is much easier than fixing a bad stitch out later.
- Review the design after every conversion.
Open the converted file in embroidery software and compare it with the original design. Look closely at lettering, borders, and small details. - Check stitch order carefully.
Make sure every object stitches in the correct sequence. A wrong stitch order can change the final look of the embroidery. - Verify the design size.
Compare the height and width with the original file. Even a small size difference can affect stitch quality. - Save a backup of the original file.
Keep the original design before making changes. This gives you a clean version if something goes wrong during editing.
Use Reliable Conversion Software
The software you choose plays a big part in the final result. Some programs simply change the file extension, while better software reads the stitch data more accurately and keeps the design much closer to the original.
- Choose software made for embroidery work.
Programs built for embroidery handle stitch data much better than basic file converters. - Keep your software updated.
New updates usually fix bugs, improve compatibility, and support newer machine models. - Use trusted conversion tools.
Well known embroidery programs produce cleaner conversions with fewer stitch problems. - Avoid converting the same file repeatedly.
Every extra conversion increases the chance of small design changes. It is better to convert directly whenever possible.
Check and Reassign Thread Colors Manually
Since color information is one of the biggest problems during conversion, it is always worth checking the thread sequence before saving the final design. This simple habit has saved me from many unnecessary production mistakes.
- Compare the colors with the original design.
Go through each color stop and confirm that every thread matches the original artwork. - Use the correct thread chart.
Select the thread brand you plan to use so the software displays the closest color match. - Fix the sewing sequence if needed.
Make sure every color change appears in the correct order before exporting the file. - Preview every color layer.
Looking at each layer separately makes it much easier to spot missing stitches or incorrect thread assignments.
Always Preview Before Saving the File
Never save the converted file without checking it first. A quick preview reveals small problems that become expensive once the machine starts stitching.
- Zoom in on fine details.
Check small lettering, outlines, and narrow satin stitches because these areas often change during conversion. - Rotate the design on the screen.
Looking at the design from different angles helps you notice gaps or shifted objects. - Run the stitch simulator.
Most embroidery software includes a stitch preview. Watching the stitching sequence helps identify problems before production. - Confirm the final dimensions.
Double check the design size & hoop selection before saving the finished file.
Test Stitch on Scrap Fabric
Even when everything looks perfect on the computer, I still recommend running a test stitch. Actually, this one step has helped me catch problems that never appeared in the software preview.
- Use fabric similar to the final project.
Different fabrics react differently, so testing on similar material gives more accurate results. - Watch for puckering or gaps.
These problems usually point to stitch density or stabilization issues rather than conversion alone. - Inspect small details closely.
Text, corners, and fine outlines quickly show whether the conversion worked properly. - Make final adjustments if needed.
Edit the design after the test stitch instead of sending an untested file into production.
Recommended Software for Fixing DST to PES Conversion Errors
The right software saves time and helps you avoid repeated conversion problems. After working with different embroidery designs, I have experienced that reliable embroidery programs keep stitch data much cleaner than basic online converters, especially when the design includes small lettering or detailed logos.
- Wilcom EmbroideryStudio
A popular choice for professional digitizers because it preserves stitch data accurately and gives you complete control over editing before conversion. - Embrilliance Essentials
Great for checking designs, changing thread colors, and converting files while keeping the original stitch sequence as close as possible. - Hatch Embroidery Software
A good option for both beginners and experienced embroiderers. It includes a stitch simulator that helps spot problems before saving the converted design. - PE-Design
If you work with Brother embroidery machines, this software works well with the PES file format and provides dependable conversion results.
Tips to Avoid Conversion Errors
The easiest way to fix conversion problems is to stop them before they happen. A few extra minutes of checking your design save hours of troubleshooting later.
- Start with a clean design.
Designs created with proper digitizing techniques usually convert much better than files that already have stitch problems. - Convert the original file only once.
Repeated conversions between different formats can change stitch quality and design accuracy. - Keep a copy of the original design.
Save the original version before making edits so you always have a reliable backup if something goes wrong. - Update your embroidery software regularly.
New software versions improve compatibility with newer machines and fix known conversion issues. - Check the design before stitching.
Preview the design, check the colors & review the stitch order before copying the file to your embroidery machine. - Run a quick test stitch.
Even all experienced embroiderers test important designs first because it is much easier to fix a small issue before the final production run.
FAQs
What are the most common errors when converting DST files to PES format?
The most common problems include missing thread colors, shifted stitch placement, file reading errors, software compatibility issues, and changes in stitch density after conversion.
What causes embroidery designs to distort when converting from DST to PES?
Designs distort because of software limitations, automatic resizing, incorrect stitch mapping, or differences in how the two file formats store embroidery data.
How can I troubleshoot DST to PES conversion problems effectively?
Open the converted design in embroidery software, review the stitch sequence, check thread colors, verify the design size, and complete a test stitch before starting the final embroidery project.
What are the best practices to avoid mistakes during DST to PES embroidery file conversion?
Use trusted embroidery software, keep the original design as a backup, convert the file only once, preview the design carefully, and always complete a test stitch on scrap fabric before production.
Author BioMatthew DavisSenior Embroidery Digitizer
I’m Matthew Davis, a skilled embroidery digitizer with more than 15 years of practical experience. I specialize in logo digitizing, 3D puff embroidery designs, applique digitizing, custom embroidery digitizing, and working with difficult fabrics. Over the years, I have worked with different fashion brands and production teams worldwide. I always share simple tips and useful techniques to help both beginners and businesses improve their embroidery work.